Common file operations on LarePass
File management operations in LarePass offers consistent experience as the Files app, with slight differences on different platforms. This document gets you started with some common file tasks in LarePass.
Upload files
Files uploaded via LarePass will automatically sync to your Olares of the same account.
Upload via LarePass desktop
Import your Olares ID
To start using LarePass desktop, you must import your Olares ID by pasting your mnemonics. Make sure you have backed up your mnemonics.
LarePass desktop offers the same upload experience as the Files app, with automatic syncing to your Olares.
Upload via LarePass mobile
You can also upload files or folders on your phone via the LarePass app.
Download files
When downloading multiple files via LarePass to your local, the tasks are queued, allowing you to pause, resume, or cancel tasks, and easily locate downloaded files.
TIP
For large files or multiple downloads, it's recommended to use the LarePass desktop application for more powerful download management and a better user experience.
Sync files to local computer
With LarePass desktop, you can sync cloud files (organized by libraries or folders) to your local computer. This creates a corresponding folder on your machine. After set up, your files will stay updated bi-directionally in real time.
Note
The Sync to local feature is only available for libraries or folders within the Sync directory.
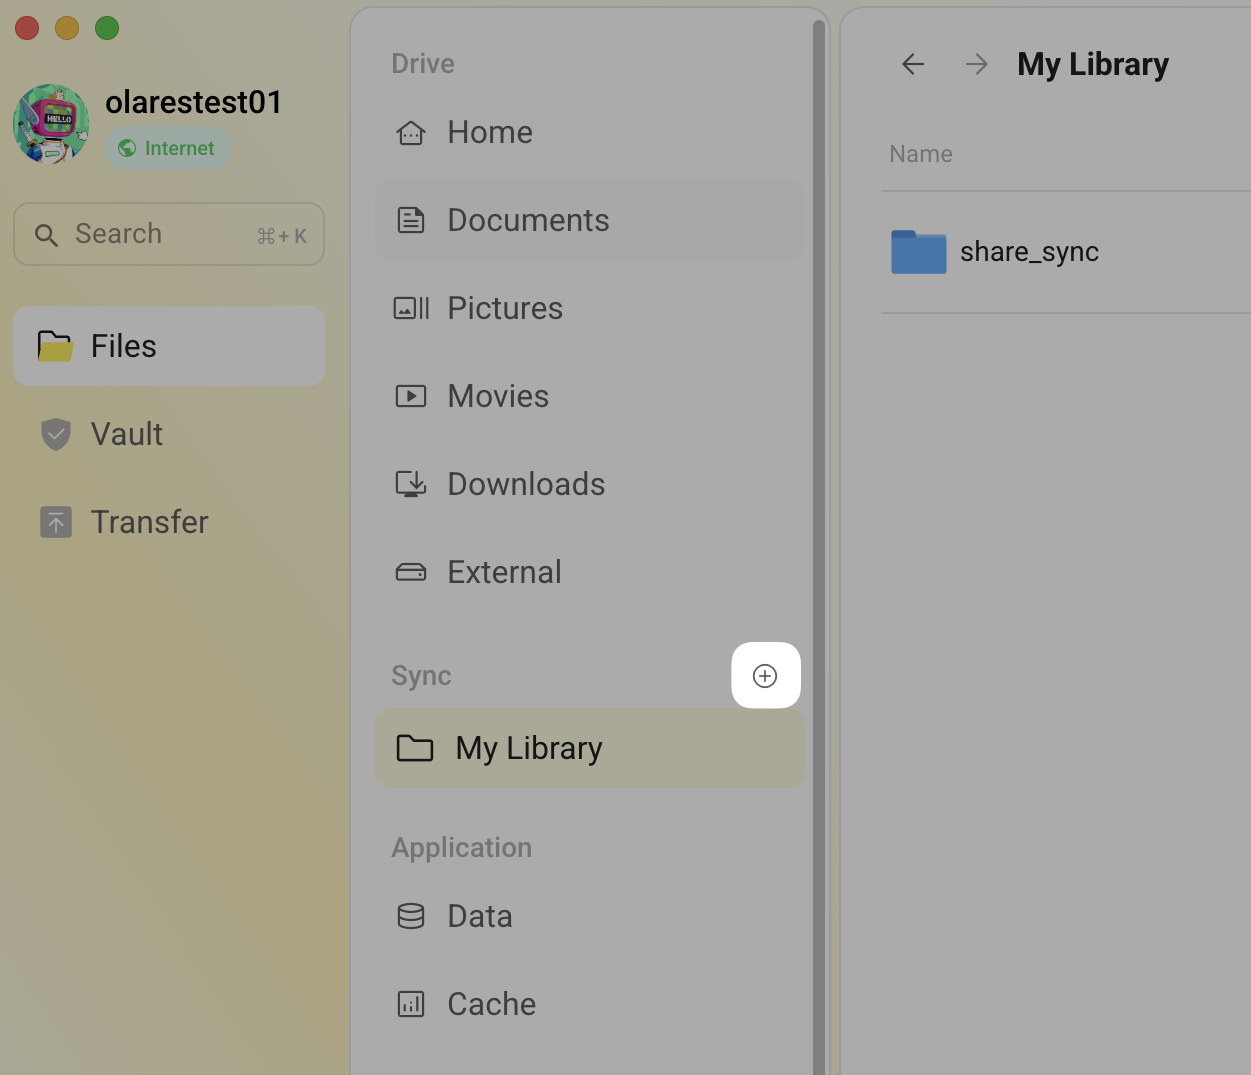
Create a library
Library is the fundamental unit for organizing, syncing, and sharing your digital content. Each user is automatically provided with their own personal library (My Library) as a starting point.
To create a new library:
- To the right of Sync, click add_circle to open the New library dialog.
- Enter a name for the library and click Create.
Enable synchronization
To enable sync for a library or folder:
Open LarePass desktop and locate the Sync directory.
Hover your mouse over the target library or folder, click more_horiz that appears on the right, and then click Sync to local.
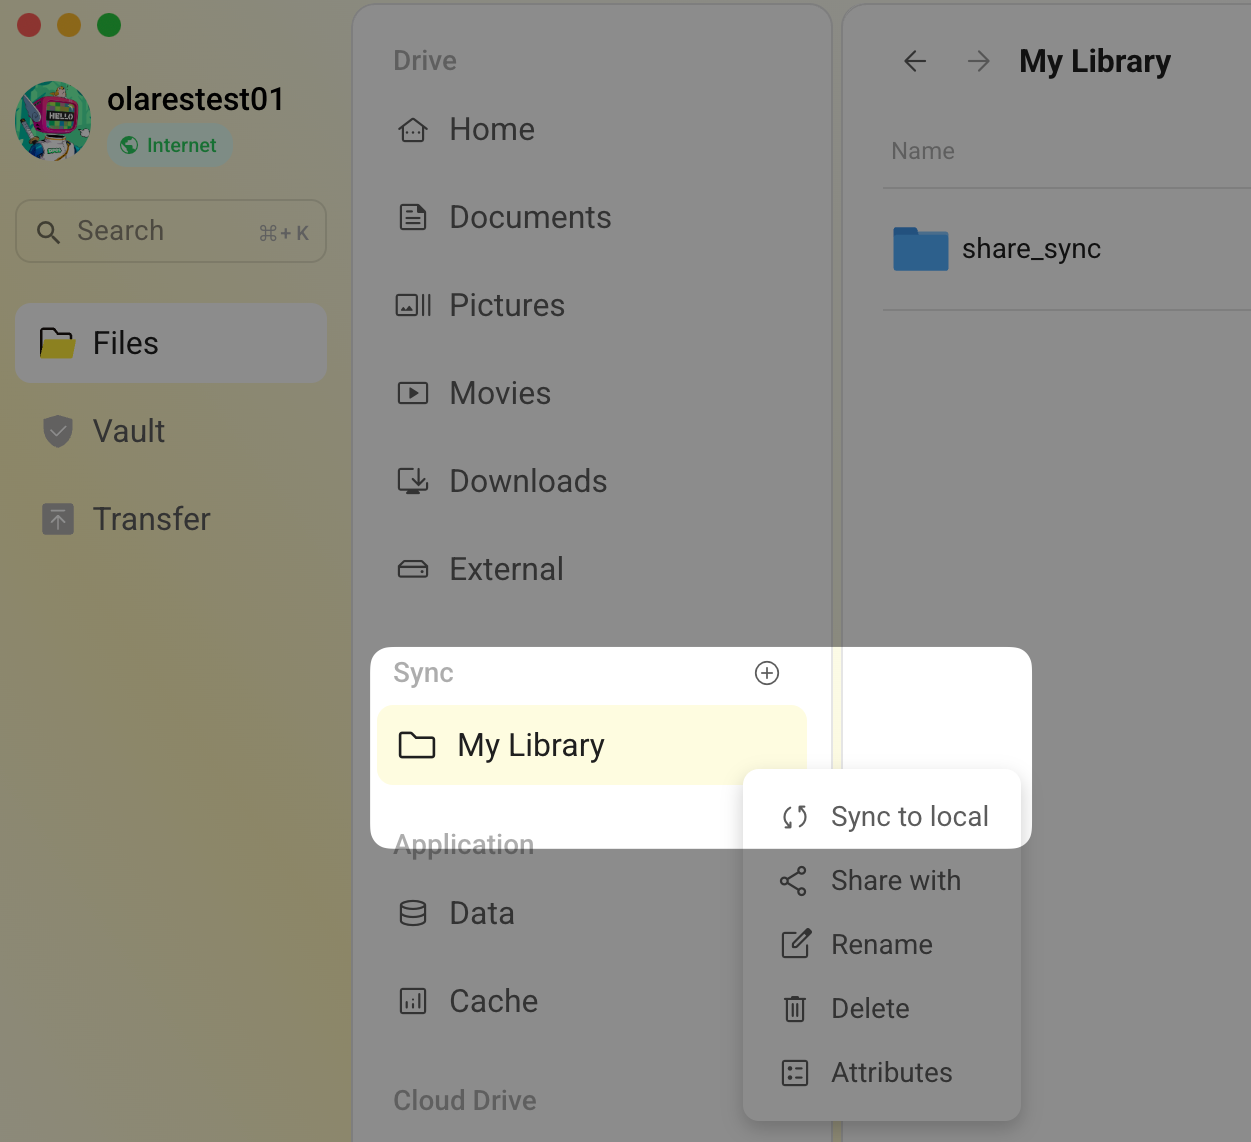
In the Sync library popup window, set the file download location, and then click Confirm.
Syncing will begin immediately. Once completed, a green checkmark will appear on the bottom-left corner of the folder icon, indicating that the sync is finished.
Manage synchronization
After setting up synchronization, you can manage your files and control the sync status with the following operations:
If you want to quickly locate the sync directory on your local drive, hover your mouse over the target library or folder, click more_horiz that appears on the right, and then click Open local sync folder. The system will directly open the folder's location on your computer.
If you no longer need to sync a folder, hover your mouse over it, click more_horiz that appears on the right, and then click Unsychronize.
If you want to temporarily stop data transfer, click pause_circle to the right of the Sync directory. All sync tasks will be paused.
Delete files
WARNING
Deleted files cannot be recovered.