First boot
This guide walks you through setting up your Olares One for the first time.
Setup overview
- You do not need to connect a monitor, keyboard, or mouse to the Olares One. The entire configuration is handled via your mobile phone.
- The LarePass app is your primary tool for initial setup, authentication, and remote access management.
Prerequisites
Hardware
- Olares One connected to Power.
- (Recommended) An Ethernet cable connecting Olares One to your router.
Network
- A reliable internet connection.
- Your mobile phone (iOS or Android) connected to the same network.
Step 1: Power on and install LarePass
- Power on Olares One. The status LED turns solid white, indicating the device is powered on.
- Search for "LarePass" in the Apple App Store or Google Play Store. Install and open the app on your mobile device.
- Follow the on-screen instructions to create your Olares ID. This unique identifier acts as your username across the entire Olares ecosystem.

Step 2: Connect Olares One
Once your ID is ready, you need to discover and link your Olares One.
Step 3: Install & activate Olares OS
In the LarePass app, on the device you just found, tap Install now.
When installation finishes, tap Activate now to initialize the system.
Select a reverse proxy node that is closest to your location and tap Confirm. The reverse proxy node acts as a secure gateway for remote access. Choosing the nearest node ensures the fastest connection speed and best stability.
Set the login password for Olares.
Copy or note down your personal desktop URL. You need this URL to access your Olares services.

Tap Got it to close the prompt.
Step 4: Login to Olares Desktop
- Open a web browser on your computer and go to your desktop URL.
- On the login page, enter your login password.
- You will be prompted to complete two-factor verification. Open LarePass to approve the login request, or manually enter the 6-digit verification code displayed in the app.
INFO
The verification code is time-sensitive. Ensure you enter it before it expires.
Next steps
Congratulations! Your Olares One is set up and active. It is strongly recommended to complete the following steps to secure your account and optimize your experience.
Back up mnemonic phrase
Security warning
You are responsible for your security. Never share this phrase. If you lose these 12 words, you will permanently lose access to your Olares ID and all data stored in your Vault.
Your Olares ID is secured by a unique 12-word mnemonic phrase. This phrase is the sole method to recover your account if you lose your phone or need to log in on a new device.
- Open the LarePass app and go to Settings > Safety.
- Tap Mnemonic phrase and verify your identity.
- Tap Click to view.
- Enter the local password as prompted.
- Write the 12 words onto the Recovery Sheet, and then store the sheet in a secure, offline location.
Reset SSH password
After you activate Olares, you will be prompted to reset the SSH password on the LarePass app. The password is automatically generated and saved to your Vault.
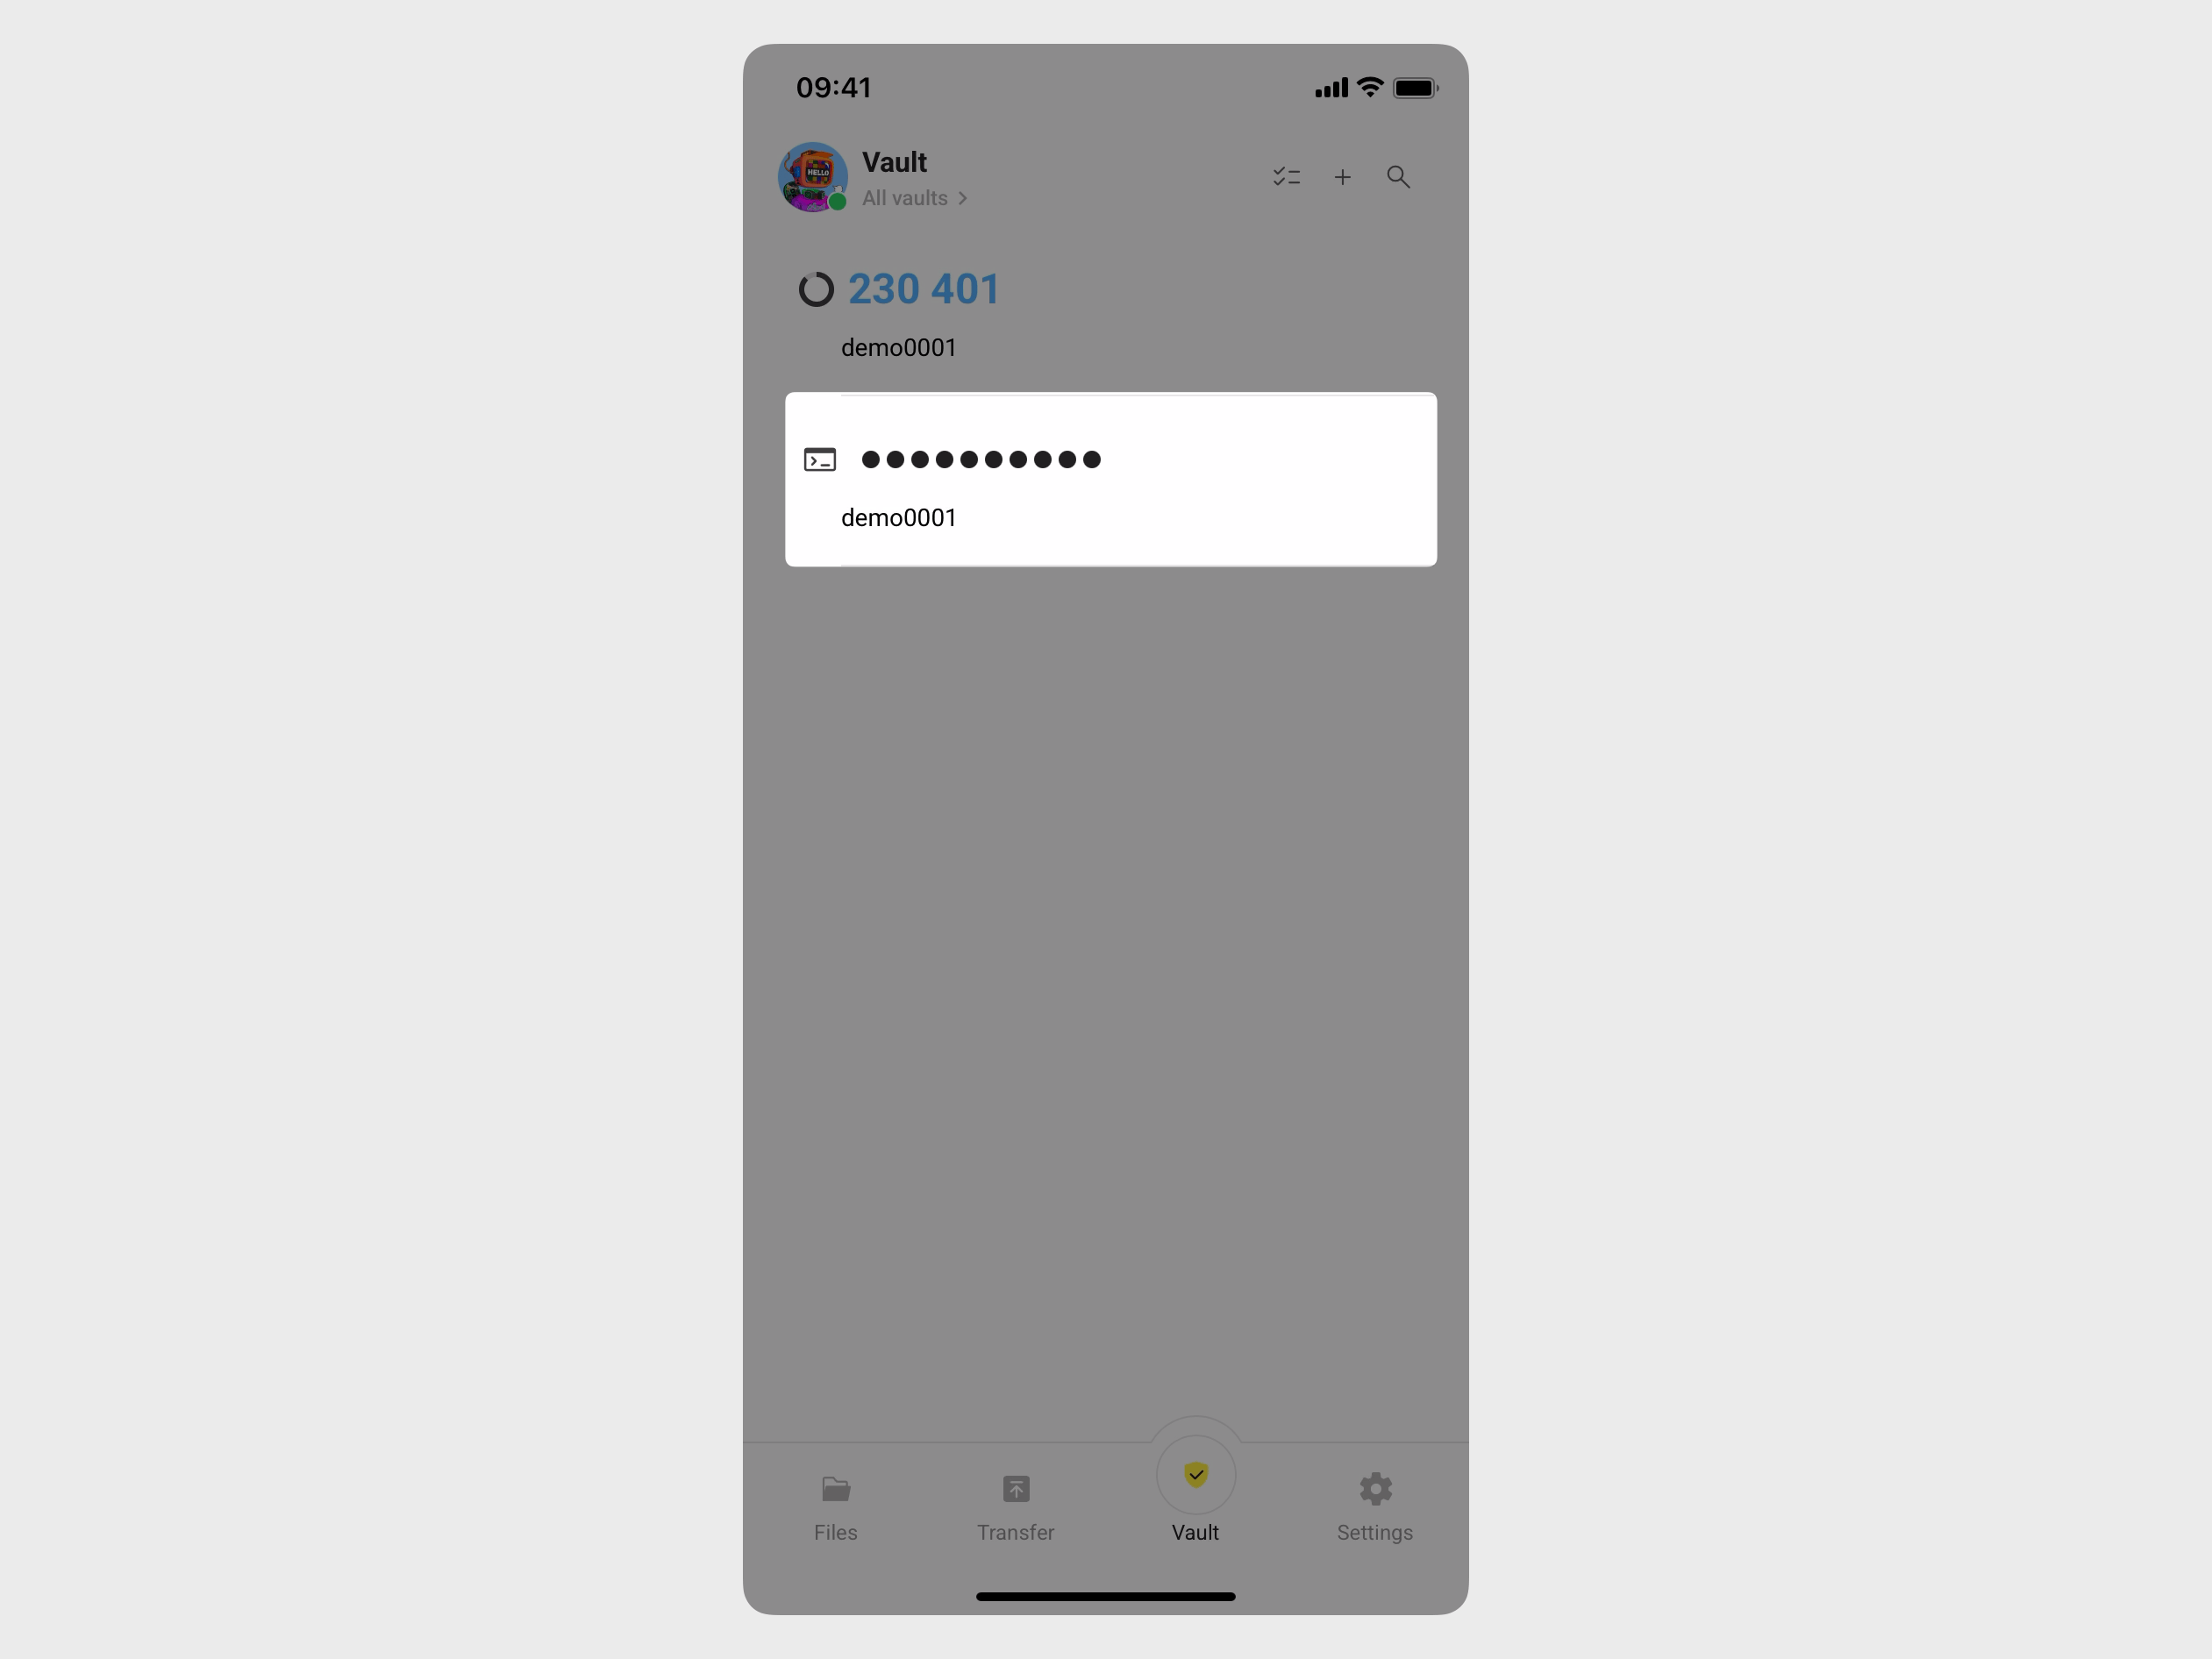
To view the saved password in Vault:
Open the LarePass mobile app, and then tap the Vault tab.
When prompted, enter your local password to unlock.
In the top-left corner, tap Authenticator to open the side navigation, and then tap All vaults to display all saved items.

Find the item with the terminal icon and tap it to reveal the password.
For instructions on how to SSH into Olares One, see Connect to Olares One via SSH.
Access Olares services securely
For secure remote access without complex network configuration, it is recommended to enable the LarePass VPN.
See Access Olares services securely using LarePass VPN.
Explore
Olares OS comes with pre-installed system apps. You can also browse the Market to download additional applications that best suit your needs.
You can continue browsing this documentation to discover more use cases and advanced configuration scenarios.
FAQs
Why is an Olares ID required?
The Olares ID is currently required to automate secure remote access for your device. It allows the system to configure a reverse proxy, register a subdomain, and manage HTTPS certificates on your behalf. Without this, you would need to manually handle complex network configurations such as port forwarding and DNS management to access your device from outside your home.
Unlike a centralized cloud account, the Olares ID is owned entirely by you. We never see your credentials, and we cannot recover your data if you lose your mnemonic phrase.
We understand the community's preference for flexibility. In the upcoming March update, we plan to introduce new activation options that will make the Olares ID optional if you prefer to configure your own network access.
Can I use my own domain name?
Yes. You can use your own custom domain instead of the default olares.com domain. Note that setting this up currently requires the LarePass app.
For details, refer to Set up a custom domain for your Olares.